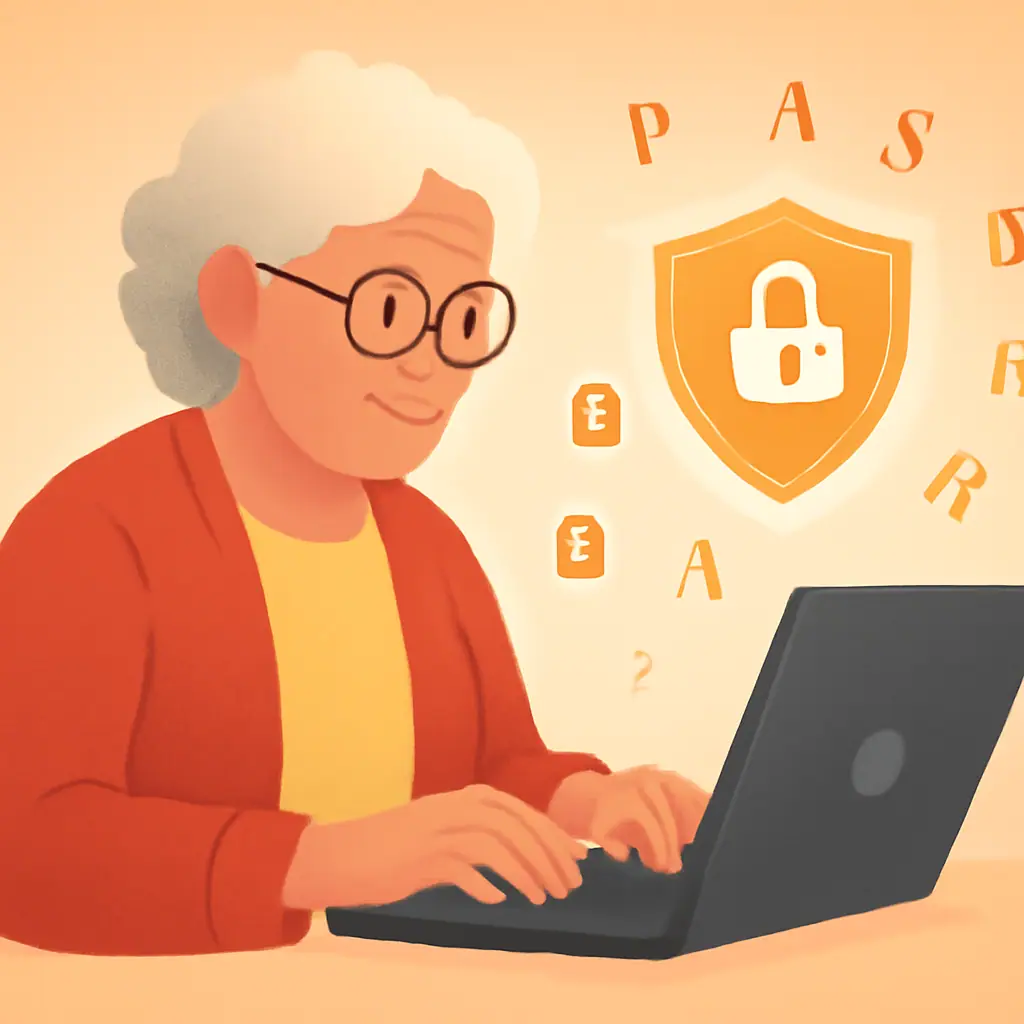
A data breach notice can feel alarming, especially when it arrives by email or regular mail and uses serious words like exposed, compromised, or unauthorized access. The important thing is to slow down. A notice does not always mean someone has used your information, but it does mean you should take a few careful steps.
If you are wondering data breach notice what to do, begin with a calm routine: verify the notice, protect the account mentioned, watch for follow-up scams, and decide whether stronger identity-protection steps are needed. You do not have to fix everything in one sitting.
This guide is written for everyday account safety. If the notice says Social Security numbers, tax information, banking details, or medical records were exposed, treat it as more serious and use official resources before making decisions.
Why a Data Breach Notice Matters
A data breach happens when information is accessed or disclosed in a way it should not have been. The exposed information might be simple, like a name and email address, or more sensitive, like a password, address, phone number, insurance number, or payment detail.
The first risk is account access. If a password or login detail was involved, someone may try the same password on other websites. That is why SenorSafe often reminds readers not to reuse passwords; our guide on what to do if you think your password was stolen explains the emergency version of that same idea.
The second risk is impersonation. After a real breach, scammers may send fake follow-up messages pretending to be the company, a bank, a credit bureau, or a support agent. Those messages often urge you to click quickly, pay a fee, or confirm personal information.
Start by Verifying the Notice
Before clicking any link in a breach notice, confirm that the message is real. This is especially important if the notice came by email or text message.
Use a safer route to the company
Open your browser and type the company's official website address yourself, or use the company's app if you already have it installed. Look for a security notice, account message, help center article, or official contact number from inside the real site.
Compare the details calmly
Check whether the company name, your name, the date range, and the type of information mentioned make sense. Be careful with messages that use vague wording, strange grammar, unusual sender addresses, or links that do not match the company.
- Do not reply with personal information: A real company should not need your full password, full Social Security number, or one-time login code by email.
- Do not pay to unlock your account: Breach notices should not demand gift cards, wire transfers, cryptocurrency, or urgent fees.
- Do not install remote access software: A support person should not ask to control your computer because of a breach notice.
If you are unsure whether a link is safe, review SenorSafe's plain-language guide on checking an email link before clicking. It can help you inspect a message without rushing into the wrong page.
What to Check First After a Data Breach Notice
Once you believe the notice is real, focus on the specific account named in the notice. If the notice says only your email address was exposed, your steps may be simple. If it mentions passwords, payment information, or identity information, the steps become more urgent.
For identity-related exposure, the Federal Trade Commission's official IdentityTheft.gov site is a useful starting point because it helps people choose recovery steps for identity theft and exposed personal information. Use official sources like that when a decision affects credit, taxes, benefits, or legal identity.
After that, look at nearby accounts. If the breached account used the same password as your email, shopping account, bank account, or social media account, change those passwords too. Reused passwords are the main reason one breach can become several account problems.
How to Protect Accounts After a Data Breach Notice Step by Step
Use these steps in order. They are meant to keep you from doing too much at once while still covering the most important protections.
Step 1: Change the affected password
Sign in through the company's official website or app, then change the password for the affected account. Choose a password you have not used anywhere else. If you need a refresher, SenorSafe's guide on how to change passwords on common accounts walks through the basic habit in a slower way.
Step 2: Change matching passwords elsewhere
If the old password was reused on other websites, change those accounts too. Start with email, banking, shopping, phone carrier, Medicare or insurance accounts, and social media. Your email account matters most because password reset messages often go there.
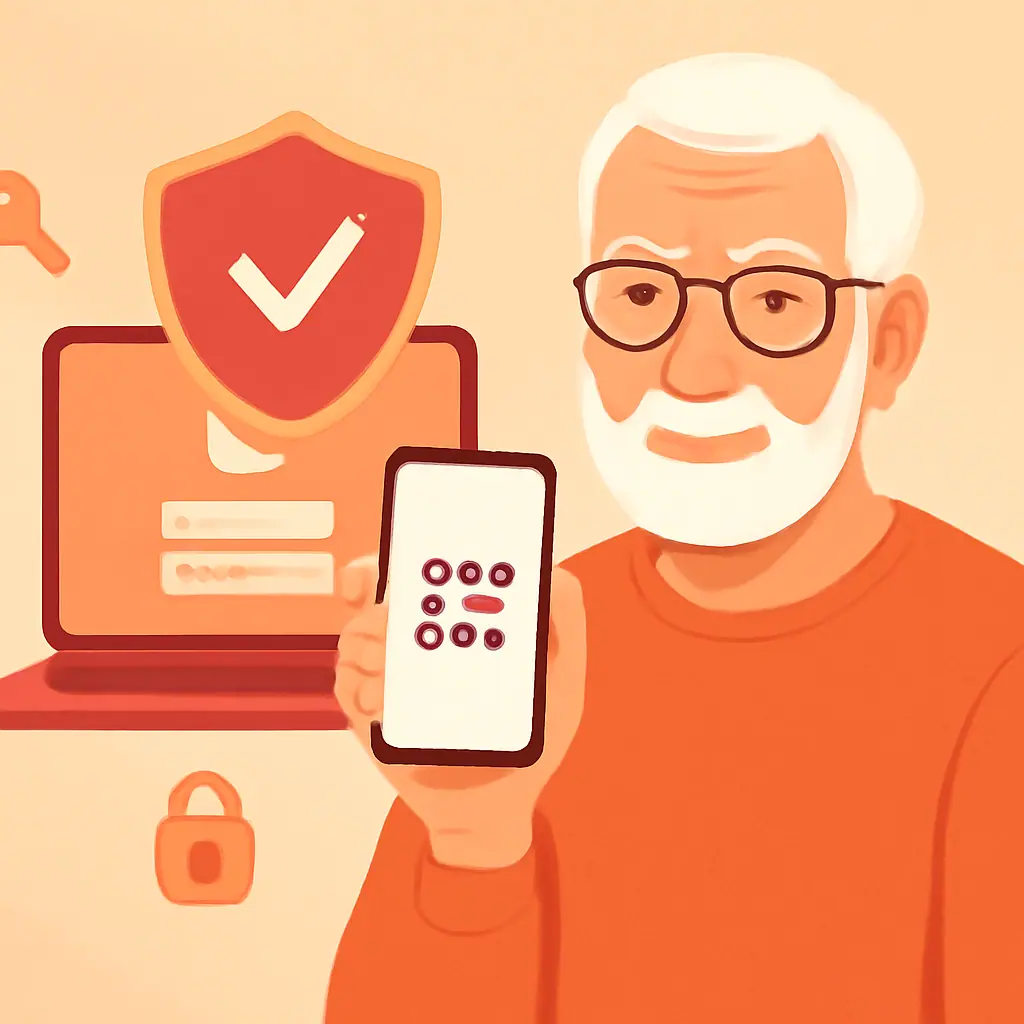
Step 3: Turn on two-factor authentication
Two-factor authentication adds an extra step when someone tries to sign in. It may send a code, use an authenticator app, or ask for a device confirmation. If available, turn it on for the affected account and for your main email account.
Step 4: Review recent account activity
Look for recent logins, password changes, new addresses, new payment methods, unexpected orders, forwarding rules, or unfamiliar devices. If you see something you did not do, report it through the official account help area.
Step 5: Watch for follow-up scams
For the next few weeks, be extra cautious with calls, texts, and emails about the breach. Scammers may use the real company name to sound believable. A message that pressures you to act immediately deserves a pause.
Common Mistakes to Avoid
The safest response to a breach notice is usually steady and practical. The mistakes below are common because people feel rushed or embarrassed. There is no need for either.
Verify before clicking
Going through the official website or app helps you avoid fake breach notices and lookalike login pages.
Change reused passwords first
Protecting accounts that shared the same password reduces the chance that one breach spreads to other logins.
Keep a short written checklist
A simple list of accounts changed, alerts turned on, and calls made can prevent confusion later.
Clicking every link in the notice
Even a real-looking notice can be copied by scammers, so links deserve extra caution.
Ignoring email account security
If someone controls your email, they may be able to reset passwords for other accounts you own.
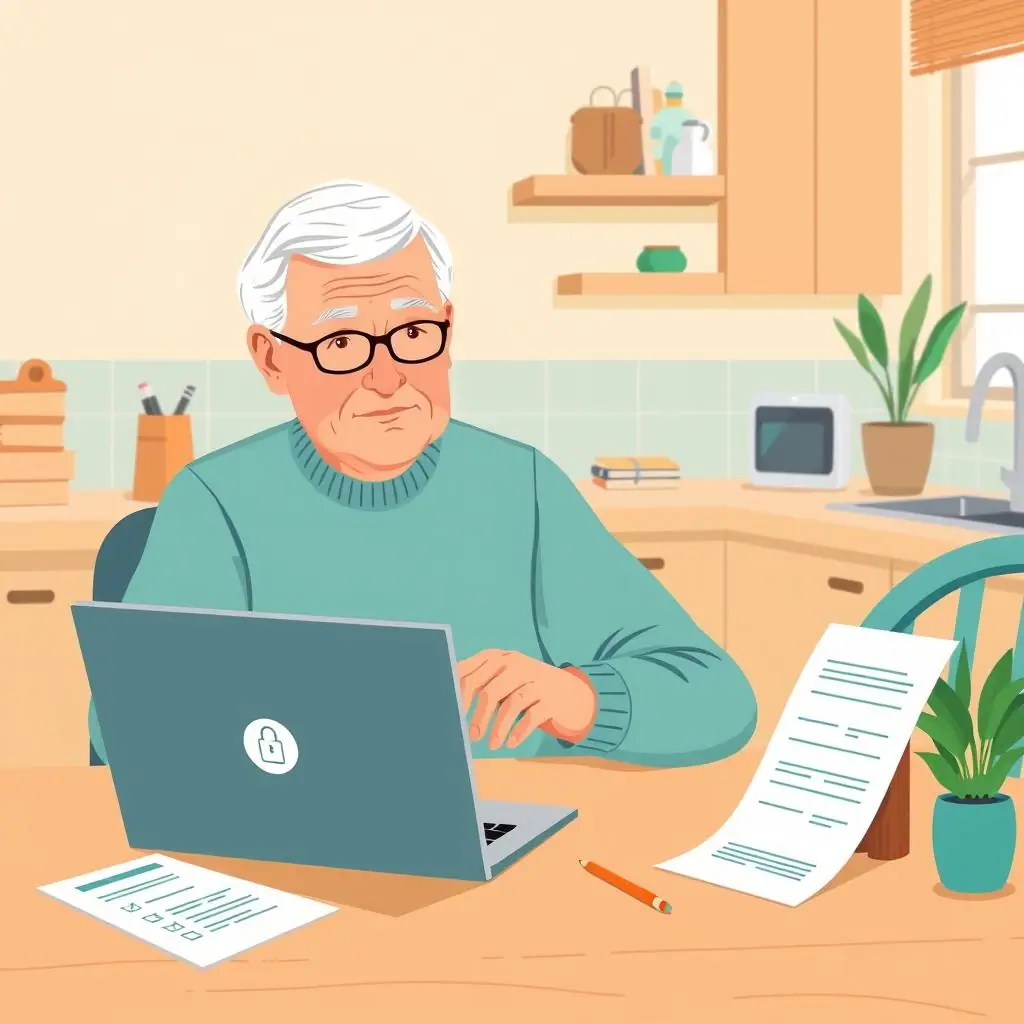
A Simple Data Breach Checklist
Print or copy this checklist if it helps. Work through it slowly, and mark only the steps that apply to the notice you received.
- Notice verified: I confirmed the message through the official company website, app, or trusted phone number.
- Password changed: I changed the affected account password to a new, unique password.
- Reused passwords checked: I changed any other account that used the same or very similar password.
- Two-factor authentication reviewed: I turned it on where available, especially for email and financial accounts.
- Recent activity checked: I looked for unfamiliar logins, purchases, addresses, forwarding rules, or device access.
- Payment methods reviewed: I checked cards, bank accounts, and saved payment details if the notice involved purchases or billing.
- Identity risk considered: I used an official resource if the notice involved Social Security, tax, medical, or financial information.
Login alerts can help after this first cleanup. If you want to understand what those alerts mean, read SenorSafe's guide to understanding login alerts before turning on every notification at once.
When to Get Extra Help
Ask a trusted family member, bank representative, or official support channel for help if the notice mentions Social Security numbers, bank account details, medical insurance information, tax records, or a password you used in many places.
You should also ask for help if you cannot sign in, if a recovery phone number or email was changed, if you see transactions you do not recognize, or if someone calls claiming they can fix the breach for a fee.
If the breach involved your main email account, take that seriously. SenorSafe's guide to setting up a secure email account explains why recovery information, strong passwords, and extra sign-in protection matter so much.
Frequently Asked Questions
What should I check first after a data breach notice?
First verify that the notice is real, then change the password for the affected account through the official website or app. Do not start by clicking links in a message you have not verified.
Do I need to change every password I have?
Not always. Change the affected account first, then change any account that used the same password or a very similar one. Give extra priority to email, banking, shopping, and phone carrier accounts.
Should I freeze my credit after every breach?
Not every notice requires a credit freeze. Consider stronger steps when Social Security numbers, financial details, or identity documents were exposed. Use official identity-theft resources or ask a trusted financial professional if you are unsure.
Can I undo security changes later?
Many settings can be adjusted later, but avoid weakening protection too quickly. Keep two-factor authentication and login alerts on for important accounts unless you have a clear reason to change them.
Final Thoughts
A data breach notice is unpleasant, but it can be handled one careful step at a time. Verify the notice, protect the affected account, change reused passwords, turn on extra sign-in protection, and watch for follow-up scams.
The goal is not to become a security expert overnight. The goal is to make your important accounts harder to misuse and to know when an official resource or trusted helper should step in.